
Many store-bought doughnuts promise softness and sweetness, but often fall short of that fresh, pillowy bite we crave. These homemade yeast-raised doughnuts deliver where others don’t. They’re light, tender, and just sweet enough—coated in a simple glaze that cracks slightly when you bite into it. Whether you’re chasing nostalgic bakery flavors or just want to master an impressive treat at home, this recipe gives you everything you need to recreate that classic Krispy Kreme-style magic.
This guide walks you through each essential step, from mixing a supple, enriched dough to achieving a perfectly translucent glaze. With a little planning (most of it hands-off), you’ll have warm, airy doughnuts on your table that rival any donut shop.
Ingredients That Make the Difference
Great doughnuts start with a balanced dough. The secret here is a rich, brioche-style base, made with egg, yolk, butter, and a touch of sugar. These additions give the doughnuts a supple texture and deep flavor. Instant yeast provides a reliable rise without the need to proof beforehand, and all-purpose flour keeps the crumb soft and tender.
The glaze is intentionally minimal: just powdered sugar, water, and vanilla extract—for that thin, shiny coating that hardens into the perfect crackle.
Plan Ahead: Why the Overnight Rest Is Worth It
One of the defining steps in this doughnut recipe is the overnight chill. After the dough’s initial rise, it’s wrapped and refrigerated. This serves two purposes:
- Flavor development: Slow fermentation deepens the taste without the need for extra ingredients.
- Ease of handling: Cold dough is far easier to roll and cut cleanly, which means more uniform doughnuts and less sticking.
If you’re short on time, a 4-hour chill works, but overnight yields the best texture and structure.
How to Mix the Perfect Doughnut Dough
To start, you’ll combine instant yeast with warm water, letting it sit briefly to activate. While this isn’t strictly necessary with instant yeast, it helps ensure a vigorous rise. Then, the remaining wet and dry ingredients are added, including room temperature butter, egg, and vanilla.
The dough should come together quickly in a stand mixer fitted with a dough hook. You’re aiming for a dough that’s slightly tacky but not wet. If it’s too sticky to manage, gradually add flour one tablespoon at a time. It should pull away from the sides of the bowl but still cling slightly to the bottom—this ensures softness in the final product.
The First Rise: A Warm Spot and Patience
Once kneaded, place the dough in a lightly oiled bowl and cover it well. A draft-free spot is essential—room temperature is usually fine, though cooler kitchens may require a bit more time. After about 2 hours, the dough should have doubled in size. If it hasn’t, give it another 30–45 minutes. Proper proofing is crucial for achieving the lightness you’re after.
Rolling and Cutting: Tips for Clean Shapes
After chilling the dough overnight, roll it out on a lightly floured surface to about ½ inch thickness. Use a doughnut cutter, or improvise with two differently sized round cutters (e.g., a drinking glass and a bottle cap). Dip your cutter into flour between cuts for cleaner edges.
Don’t discard the doughnut holes—shape the scraps into balls and fry them too. They’re perfect for testing oil temperature or serving as bite-sized treats.
The Second Rise: Letting the Doughnuts Puff

Once cut, place the doughnuts on a parchment-lined baking sheet. Cover with a clean kitchen towel and let them rise again for about 1 hour, or until they look visibly puffed. This step is essential for a fluffy interior. Skipping or rushing it can result in dense, chewy doughnuts.
Frying: Achieving the Ideal Golden Crust
The frying temperature is critical—aim for 360–370°F (182–188°C). Too cool, and the doughnuts absorb oil and turn greasy. Too hot, and they’ll brown too quickly outside while staying raw inside.
Use a cast iron skillet or a heavy-bottomed pot for even heat distribution. Fry in small batches to avoid overcrowding. Each doughnut needs just about 1 minute per side—look for a light golden color before flipping.
After frying, place them on a wire rack set over paper towels to drain excess oil while staying crisp.
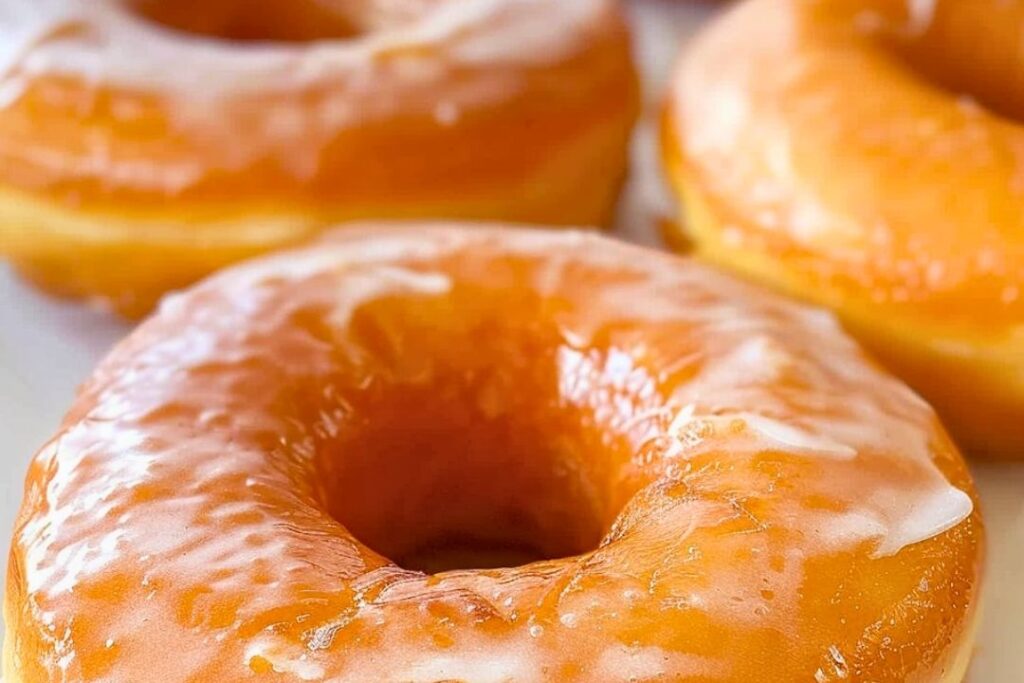
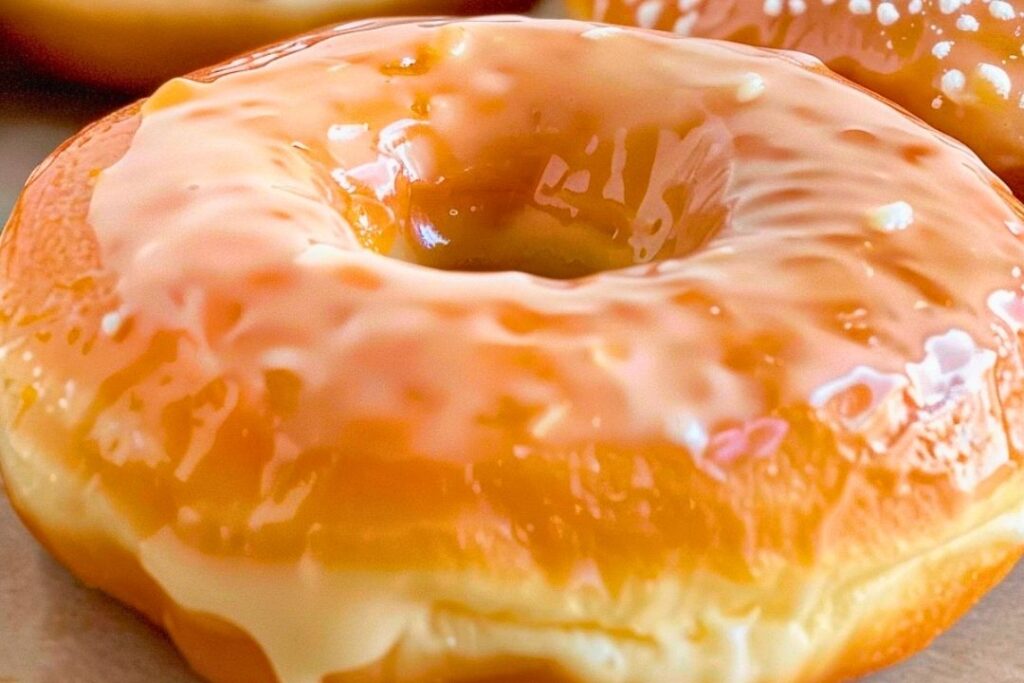
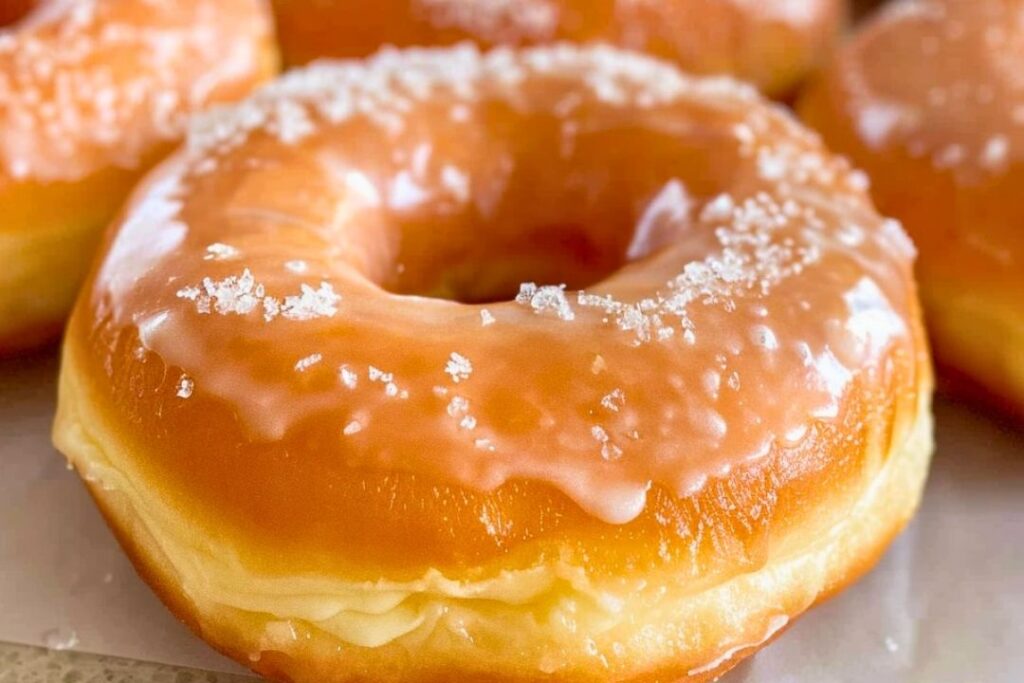
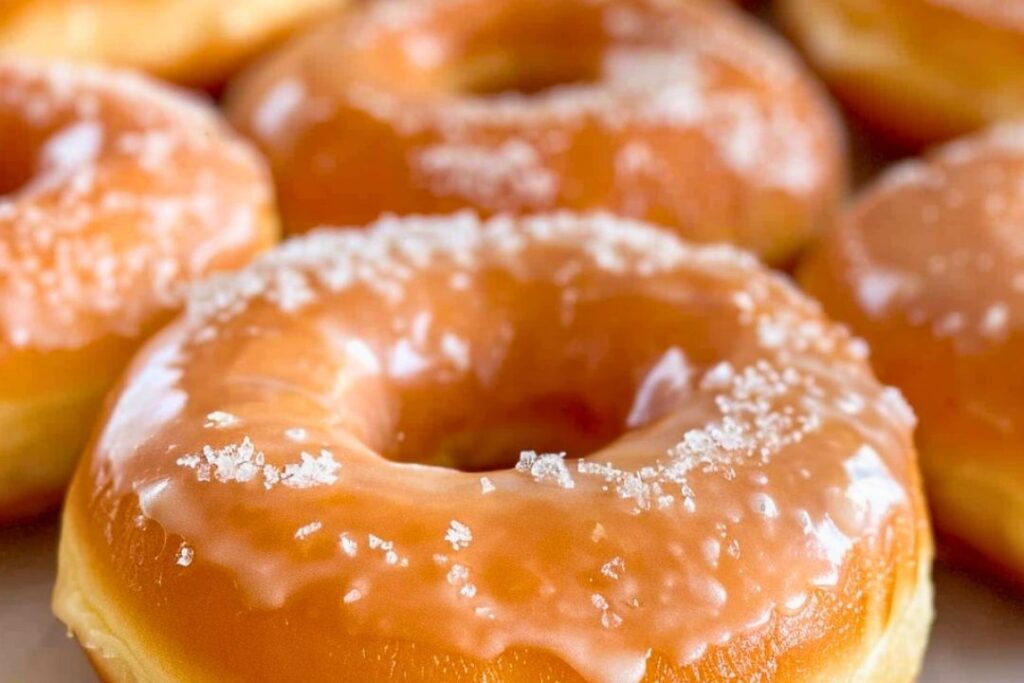
The Glaze: Simple and Effective
Whisk together powdered sugar, water, and vanilla until smooth and pourable. The key to a smooth glaze is sifting the sugar beforehand and using warm water.
While still warm but not hot, dip each doughnut into the glaze, coating both sides. Set them back on the rack to allow the glaze to set—about 15 minutes is enough for that signature sheen and slight crunch.
Storing and Reheating Tips
Like most fried goods, these doughnuts are best eaten fresh. However, if you have leftovers:
- Store them in an airtight container at room temperature for up to 2 days.
- Avoid refrigerating—they’ll dry out.
- To revive slightly stale doughnuts, place them in the microwave for 10–15 seconds to restore some softness.
Freezing isn’t ideal due to the glaze, but unglazed doughnuts can be frozen, then thawed and glazed later.
Flavor Variations and Add-Ons
Want to experiment beyond the classic glaze? Here are a few easy variations:
- Cinnamon Sugar: Skip the glaze and toss hot doughnuts in cinnamon and granulated sugar.
- Chocolate Glaze: Swap half the powdered sugar with cocoa powder and use milk instead of water.
- Filled Doughnuts: Instead of cutting out the center, fry the rounds whole and fill with custard, jam, or cream using a piping bag.
Final Thoughts: Homemade, But Better
Making yeast-raised doughnuts from scratch takes time, but the process is surprisingly approachable. The result? A batch of impossibly light, tender doughnuts with a glossy glaze that melts on your tongue.
Whether for a special breakfast, a weekend baking project, or just because—you’ll be hard-pressed to find a better version, even from the best bakery. Once you’ve made these, it’s tough to go back to anything else.

Homemade Glazed Yeast Doughnuts (Krispy Kreme Style)
Ingredients
Method
- In the bowl of a stand mixer fitted with a dough hook, combine instant yeast and warm water. Let sit for 10 minutes.
- Add sugar, salt, butter, egg, egg yolk, vanilla extract, and 2½ cups of flour. Mix on low speed until a dough begins to form.
- If the dough is too sticky, add additional flour one tablespoon at a time until it becomes soft and tacky, pulling away from the sides of the bowl but not the bottom.
- Transfer the dough to a lightly oiled bowl. Cover with plastic wrap and let rise in a warm place for 2 hours, until doubled in size.
- Punch down the dough gently, wrap in plastic, and refrigerate for at least 8 hours or overnight.
- On a floured surface, roll the chilled dough to ½-inch thickness. Use a floured doughnut cutter or two round cutters to cut out doughnuts.
- Place cut doughnuts on a parchment-lined baking sheet. Cover with a towel and let rest for 1 hour until slightly puffed.
- Line a rimmed baking sheet with paper towels and place a wire cooling rack on top.
- Heat vegetable shortening in a cast iron skillet or heavy-bottomed pot to 360–370°F (182–188°C).
- Fry doughnuts in batches, cooking each for about 1 minute per side until golden brown. Do not overcrowd the pan.
- Transfer fried doughnuts to the prepared cooling rack to drain.
- In a medium bowl, whisk together powdered sugar, water, and vanilla extract until smooth.
- Dip each doughnut into the glaze, flipping to coat both sides. Return to the rack and allow the glaze to set for 15 minutes before serving.
Notes
- Make sure your oil temperature stays consistent to avoid greasy or undercooked doughnuts.
- The glaze sets best when doughnuts are still warm but not hot.
- Doughnuts are best enjoyed fresh the same day.
Leave a Reply