
If your only experience with pita bread is from a plastic-wrapped grocery store bag, prepare to change the way you think about this Middle Eastern staple. This soft, chewy, oven-baked pita bread delivers the kind of pillowy texture and warm flavor that supermarket versions simply can’t match.
Unlike many homemade bread recipes that can be intimidating or overly technical, this version is incredibly approachable—even for beginners. It uses basic pantry staples, requires no special equipment beyond a baking steel (or even a sturdy baking sheet), and rewards you with that signature pita puff you’ve always admired but never thought you could make at home.
Whether you plan to stuff them with falafel, slice them for dipping, or devour them warm and plain, this is a go-to flatbread recipe that deserves a place in your regular rotation.
Why Homemade Pita Is Worth It
Store-bought pita often lacks the airiness and softness of a fresh, homemade version. When you bake it yourself, the transformation is immediate: from bland and dry to light, chewy, and full of flavor.
Plus, making it at home gives you control over the ingredients—no preservatives, no fillers, and the satisfaction of knowing exactly what you’re eating. This recipe is also naturally vegan, making it a versatile option for plant-based households.
Ingredients You’ll Need

This recipe keeps it simple. Here’s what you’ll use:
- All-purpose flour – For soft, tender pitas with just the right amount of chew.
- Salt – Essential for flavor balance.
- Sugar – A small amount to feed the yeast and help browning.
- Active dry yeast – Gives the dough its lift and classic puff.
- Warm water – Activates the yeast and binds the dough.
- Olive oil – Adds moisture and a subtle richness.
These ingredients are pantry staples, and chances are, you already have everything you need to make a fresh batch tonight.
The Science Behind the Puff
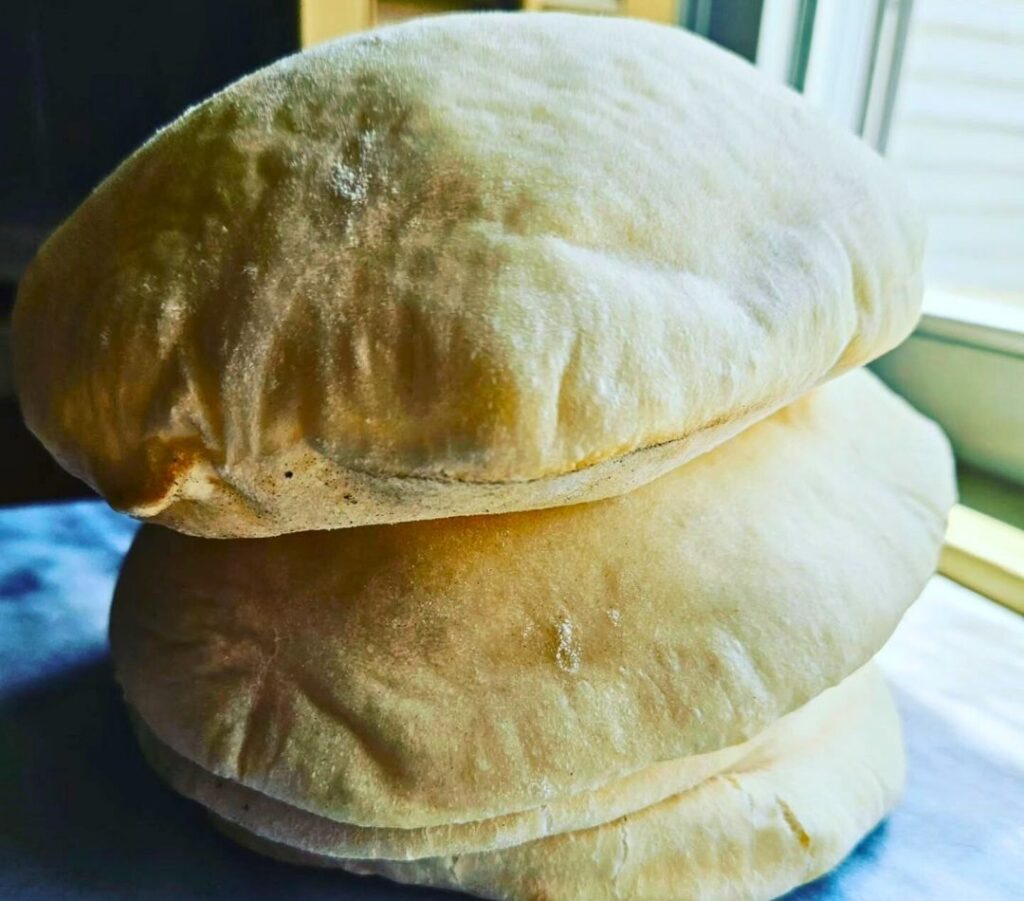
What makes pita bread magical is its ability to puff in the oven, forming a perfect pocket. That steam-powered rise happens because the dough is rolled thin and cooked at a very high temperature. The outer layer sets quickly, while moisture inside turns to steam and pushes the layers apart.
A baking steel (or pizza stone) helps maintain consistent high heat from below, mimicking the effect of a stone oven and increasing the chance of a good puff.
Step-by-Step: How to Make Puffy Pita in Your Oven
1. Activate the Yeast
Start by combining warm water, sugar, and yeast in a mixing bowl. Let it sit for about 5 minutes, until the surface becomes frothy. This step ensures the yeast is alive and ready to do its job.
2. Mix and Knead the Dough
Add the flour, salt, and olive oil to the yeast mixture. Mix until it forms a shaggy dough, then knead by hand or with a stand mixer for 8–10 minutes. You’re aiming for a smooth, elastic consistency.
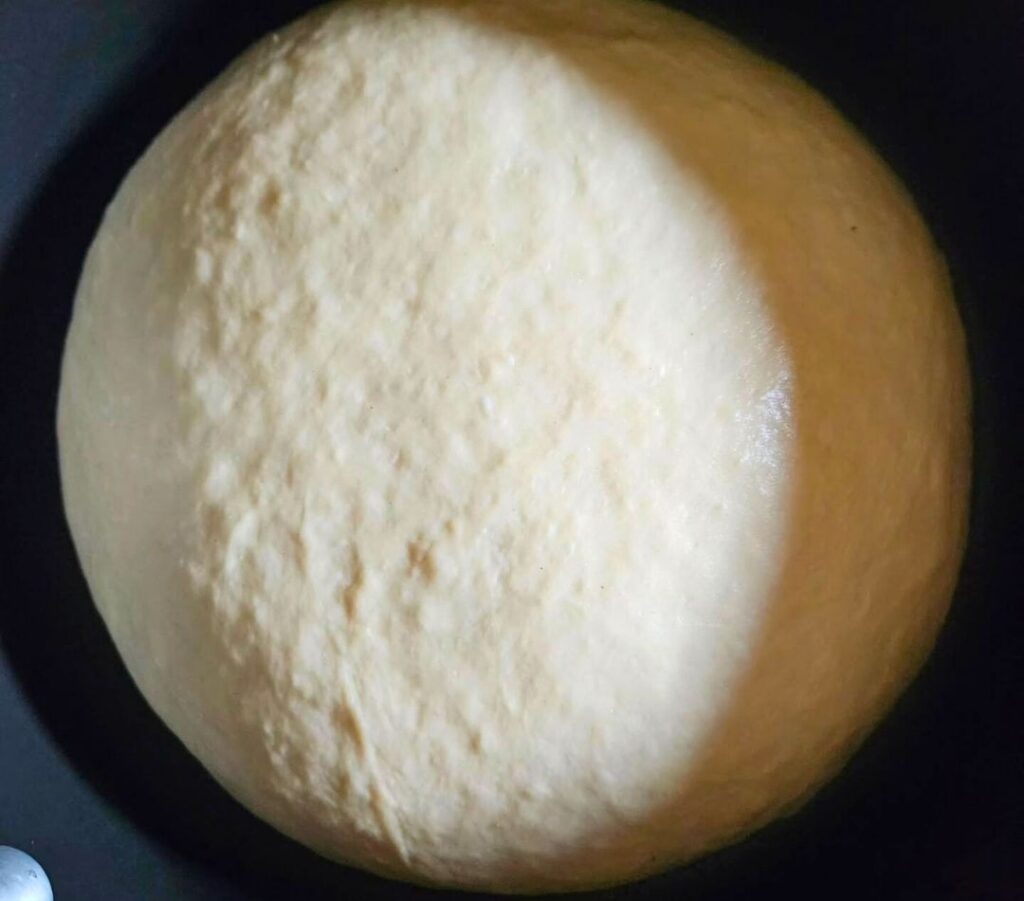
3. Let It Rise
Transfer the dough to a lightly oiled bowl, cover it, and let it rise in a warm spot for about an hour. It should double in size. This fermentation time builds both texture and flavor.
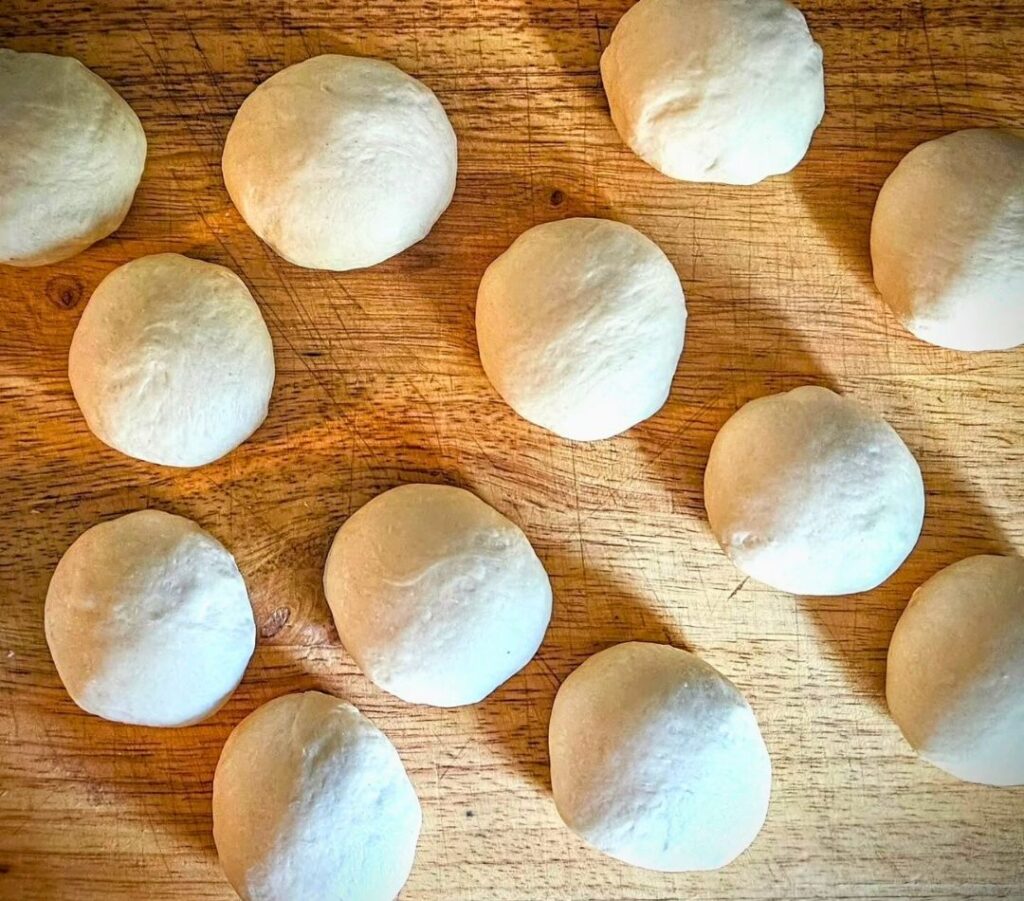
4. Divide and Shape
Punch down the dough and divide it into 6–8 equal pieces. Roll each into a smooth ball, then use a rolling pin to flatten into rounds about ¼ inch thick. Uniform thickness is key for even puffing.
5. Preheat the Oven (with Baking Steel)
Heat your oven to 475°F (245°C) with a baking steel or pizza stone inside. Let it preheat for at least 30 minutes to ensure it’s blazing hot. This step is crucial for the dramatic puff.
6. Bake the Pitas
Place 1–2 pitas on the hot steel. Bake for 3–4 minutes, until they puff dramatically and begin to brown at the edges. Don’t overbake—they should be golden but still soft.
7. Cool Slightly and Enjoy
Remove from the oven and place on a clean towel. Cover to keep warm and soft. They’re best eaten fresh but can also be reheated or stored.
Pro Tips for Best Results

- Use a baking steel if possible. It retains more heat than a baking sheet, which leads to a better puff.
- Don’t over-flour when rolling. Excess flour can prevent puffing by drying out the dough.
- Bake quickly after rolling. Letting the dough sit too long after rolling can lead to deflation or dry spots.
- Keep an eye on the oven. The puff happens fast; watch through the window instead of opening the door.
What If They Don’t Puff?
Even if your pita doesn’t balloon into a perfect pocket, it’s still completely delicious. The interior will be soft and chewy—ideal for wraps, dips, or as a warm side.
Common reasons for no puff include:
- Dough too thick or uneven
- Oven or baking steel not hot enough
- Dough drying out before baking
Practice helps, and even the “flops” are enjoyable.
Variations to Try
Once you’ve mastered the basic version, consider these adaptations:
- Whole Wheat: Replace up to half of the all-purpose flour with whole wheat for a nuttier flavor and added fiber.
- Garlic & Herb: Mix minced garlic and chopped fresh herbs into the dough or brush onto finished pitas with olive oil.
- Stuffed Pita: Add a layer of soft cheese or cooked vegetables between two thin rounds and seal the edges—mini filled flatbreads.
How to Store and Reheat
These pitas are best enjoyed fresh, but they store well:
- Short-term: Keep in a zip-top bag at room temperature for up to 3 days.
- Long-term: Freeze in an airtight container for up to 2 months. Reheat directly from frozen in a warm oven or toaster.
To keep them soft, always wrap warm pitas in a towel after baking. This traps steam and prevents them from drying out.
Serving Ideas
- Dip into hummus, baba ghanoush, or tzatziki
- Slice into triangles for snacking or charcuterie boards
- Stuff with grilled vegetables, falafel, or marinated meats
- Use as a wrap for quick lunch sandwiches or shawarma
Pita bread’s versatility makes it a staple in many global cuisines—from Mediterranean mezze to Middle Eastern street food.
Final Thoughts
If you’ve never tried baking your own pita, this is the place to start. It’s straightforward, satisfying, and delivers a noticeable payoff in flavor and texture. Once you’ve experienced the joy of watching dough puff into warm pillows of bread, it’s hard to go back to the bagged variety.
With a little practice and a hot oven, you’ll find yourself reaching for this recipe again and again—whether for a weeknight dinner or an impressive homemade appetizer spread.

Soft and Puffy Homemade Pita Bread
Ingredients
Method
- In a small bowl, combine warm water, sugar, and active dry yeast. Let it rest for 5 minutes until the mixture becomes frothy, indicating the yeast is active.
- In a large mixing bowl, whisk together the flour and salt. Add the olive oil and the yeast mixture.
- Mix until a shaggy dough forms, then knead the dough by hand or with a stand mixer for about 8 to 10 minutes until smooth and elastic.
- Lightly oil a clean bowl, place the dough inside, and cover with a damp cloth or plastic wrap. Allow it to rise in a warm spot for about 60 minutes, or until it doubles in size.
- Preheat your oven to 475°F (245°C) with a baking steel or pizza stone inside for at least 30 minutes to ensure it is very hot.
- Punch down the risen dough and divide it into 6 equal portions. Roll each portion into a ball.
- On a lightly floured surface, roll each ball into a round about 1/4 inch thick, keeping them as even as possible.
- Place 1 or 2 rounds onto the hot baking steel and bake for 3 to 4 minutes until the pitas puff up and develop a light golden color.
- Remove the baked pita and place on a clean towel. Cover to keep warm and soft. Repeat with remaining dough.
Notes
- Use a baking steel or pizza stone for best results in puffing.
- Make sure the oven is fully preheated to 475°F before baking.
- Cover baked pitas with a towel to keep them soft and warm.
- If pita doesn’t puff, it’s still delicious and can be used like flatbread.
Leave a Reply