Tacos are a weeknight staple, but when you’re cutting back on carbs or avoiding grains, the standard tortilla just doesn’t fit. Enter zucchini tortilla wraps—thin, golden rounds that mimic the structure of a taco shell while bringing in subtle flavor and a tender bite. Made with simple, wholesome ingredients and baked to crisp, these veggie-packed wraps are an ideal base for your favorite fillings—from smoky shredded chicken to spicy black beans or grilled vegetables.
They’re not trying to be tortillas exactly. Instead, they offer their own take: a lighter, fresher vehicle for bold toppings, and a clever way to work more vegetables into your meals without sacrificing satisfaction.

A Note on Zucchini: The Unsung Hero of Low-Carb Cooking
Zucchini’s versatility in the kitchen is unmatched. Here, it plays two roles: acting as the structural base of the wrap and contributing a mild flavor that won’t overpower your fillings. The key is removing moisture effectively—zucchini holds a lot of water, and draining it well makes all the difference in getting that crisp finish.
Ingredient Breakdown: Simple, Functional, Delicious
- Zucchini: Finely shredded and thoroughly drained, zucchini forms the bulk of the wrap. It creates a soft yet sturdy base that holds up to folding and stuffing.
- Salt: Used early in the process to draw moisture out of the zucchini. Don’t worry, most of it gets rinsed away.
- Almond Flour: This adds a bit of structure and a subtle nutty flavor while keeping the recipe gluten-free. You can substitute with coconut flour, but use a bit less—it absorbs more moisture.
- Cheese: Melty and binding, cheese (like mozzarella or cheddar) helps the wraps hold their shape and adds savory richness.
- Egg: The primary binder. It brings everything together and sets the mixture during baking.
- Garlic Powder & Black Pepper: Just enough to season without stealing the show. Feel free to customize with cumin, paprika, or chili flakes for added kick.
Step-by-Step: How to Make Zucchini Wraps That Hold Up
1. Preheat and Prep
Set your oven to 400°F (200°C) and line a baking sheet with parchment paper. This keeps the wraps from sticking and helps them crisp evenly.
2. Drain the Zucchini Thoroughly
Place your shredded zucchini in a fine-mesh strainer or cheesecloth over the sink or a bowl. Sprinkle lightly with salt and let it sit for at least 20 minutes. Afterward, squeeze out as much moisture as you can—use your hands or a clean towel. The drier the zucchini, the better the texture of the final wrap.
3. Mix the Dough
In a large bowl, combine the drained zucchini with almond flour, cheese, egg, garlic powder, and a few cracks of black pepper. Stir until you have a thick, slightly sticky mixture. If it feels too wet, add a touch more almond flour.
4. Form the Wraps
Scoop out ¼-cup portions and place them on the baking sheet. Flatten each to about 1/8 inch thick with the back of a spoon or your hands. Keep the shapes as even as possible for uniform cooking.
5. Bake Until Golden and Set
Slide the tray into the oven and bake for about 25 minutes, or until the wraps are lightly browned around the edges and firm in the center. Let them cool on the tray for a few minutes—they’ll set up more as they rest.
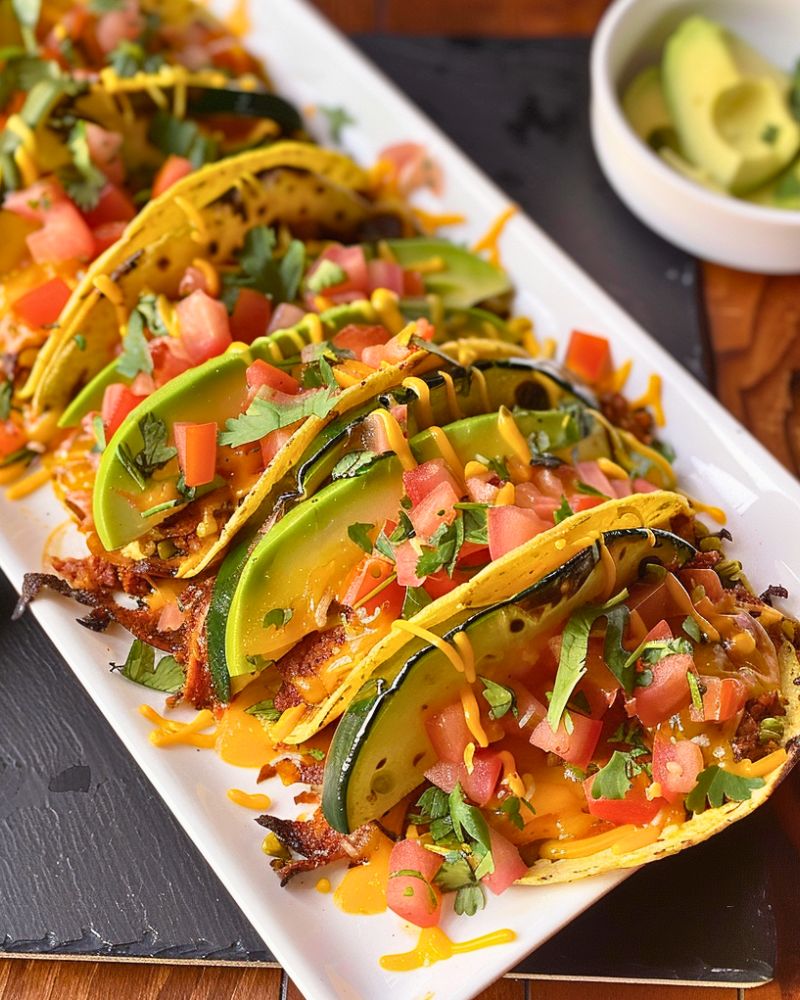
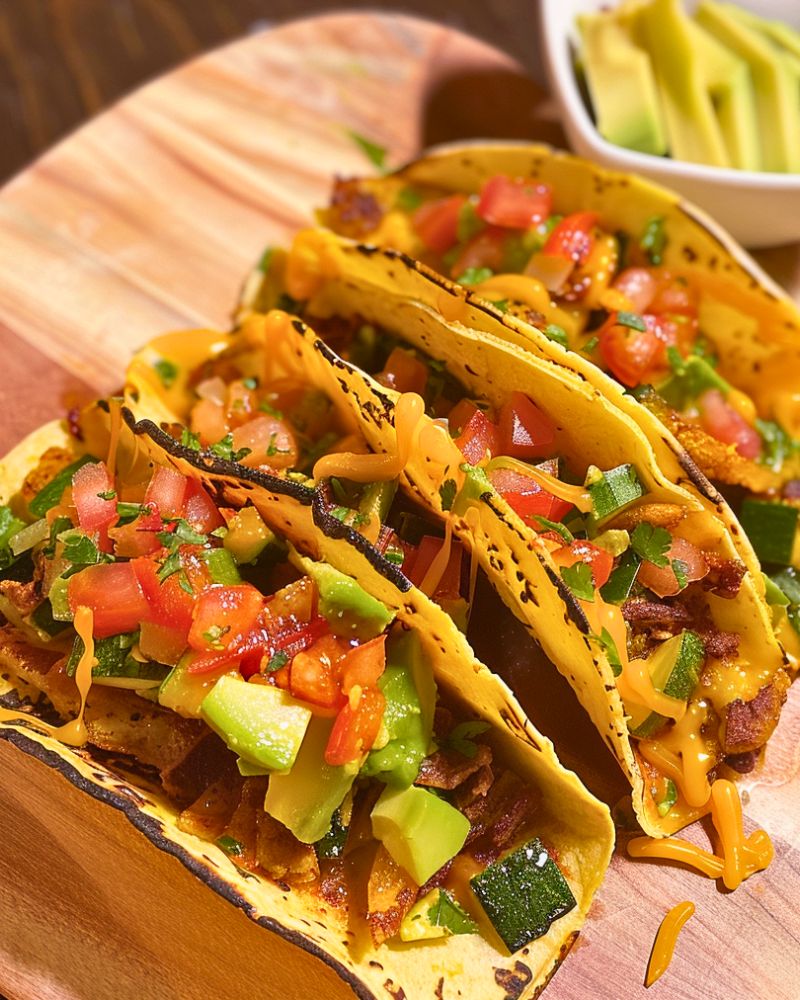
6. Fill, Fold, and Serve
Once slightly cooled, they’re ready for whatever toppings you love—grilled chicken, sautéed mushrooms, avocado, salsa, or a dollop of sour cream. Treat them like soft tacos or fold them into mini burritos.
Optional Add-Ins for Flavor Variation
Want to give your wraps a bit more personality? Try stirring in:
- Chopped cilantro or parsley for freshness
- Crushed red pepper flakes for heat
- Grated onion or shallot for savory depth
- A pinch of cumin or smoked paprika for a more taco-like aroma
Storing and Reheating Tips
These zucchini wraps store well in the fridge for up to 4 days. Stack them between parchment sheets in an airtight container. To reheat, simply warm them in a skillet over low heat or pop them back in the oven for a few minutes until they’re pliable and warm.
They’re also freezer-friendly. Lay them flat in a single layer on a tray to freeze, then transfer to a zip-top bag once solid. Reheat from frozen in the oven at 350°F for about 10 minutes.
How to Use Leftovers Creatively
If you’ve made a batch and want to switch things up, try these ideas:
- Cut them into strips and use as grain-free croutons on soup or salad
- Top with sauce and cheese and bake as mini flatbreads
- Wrap around scrambled eggs for a quick breakfast taco
- Roll with deli meat and greens for a quick lunch roll-up
Zucchini tortilla wraps are a practical, flavorful alternative to traditional tortillas—light on carbs, big on versatility. Whether you’re meal-prepping for the week or throwing together a last-minute dinner, these wraps have a place in your kitchen rotation.
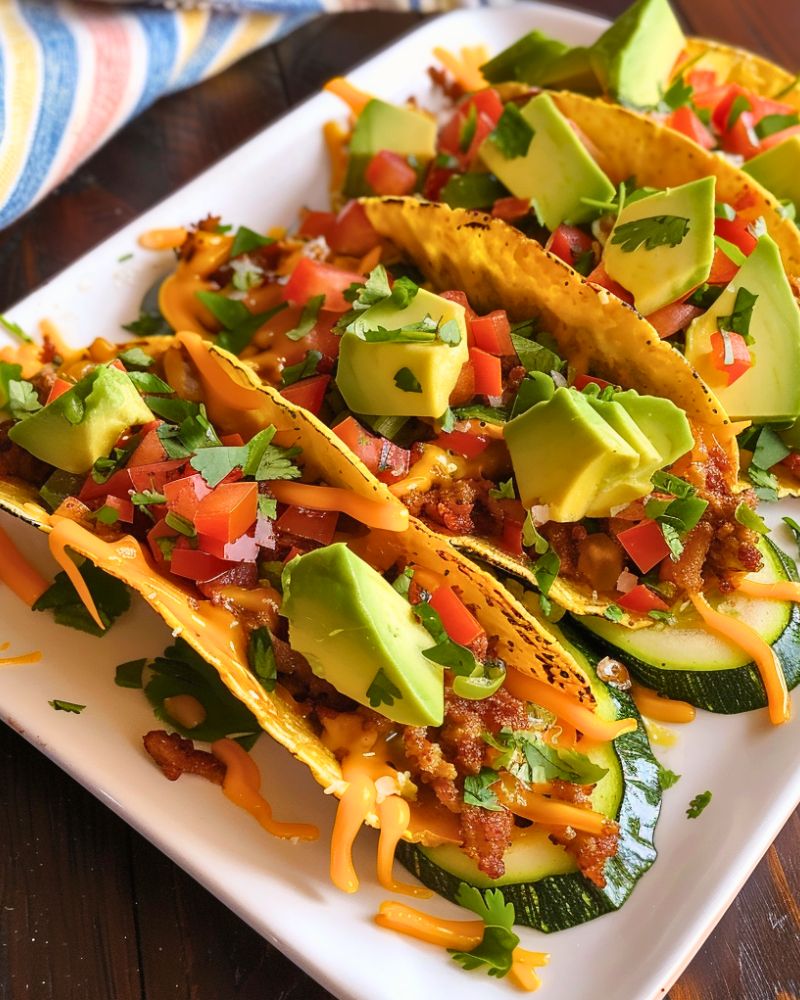
Zucchini Taco Shells
Ingredients
Method
- Preheat oven to 400°F (200°C) and line a baking sheet with parchment paper.
- Place grated zucchini in a strainer over the sink or a bowl. Sprinkle lightly with salt and let sit for about 20 minutes to release moisture.
- Squeeze out as much excess water from the zucchini as possible using a clean towel or cheesecloth.
- In a large bowl, combine the drained zucchini, almond flour, shredded cheese, egg, garlic powder, and black pepper. Mix well to form a cohesive mixture.
- Scoop 1/4-cup portions of the mixture onto the prepared baking sheet. Press each portion down to form circles about 1/8 inch thick.
- Bake for 25 minutes or until the shells are golden brown and crisp around the edges.
- Remove from oven and allow to cool slightly before filling with desired toppings.
Notes
- Make sure to squeeze out as much liquid as possible from the zucchini to prevent soggy shells.
- You can store the baked shells in the refrigerator for up to 3 days and reheat in a skillet or oven.
Leave a Reply