
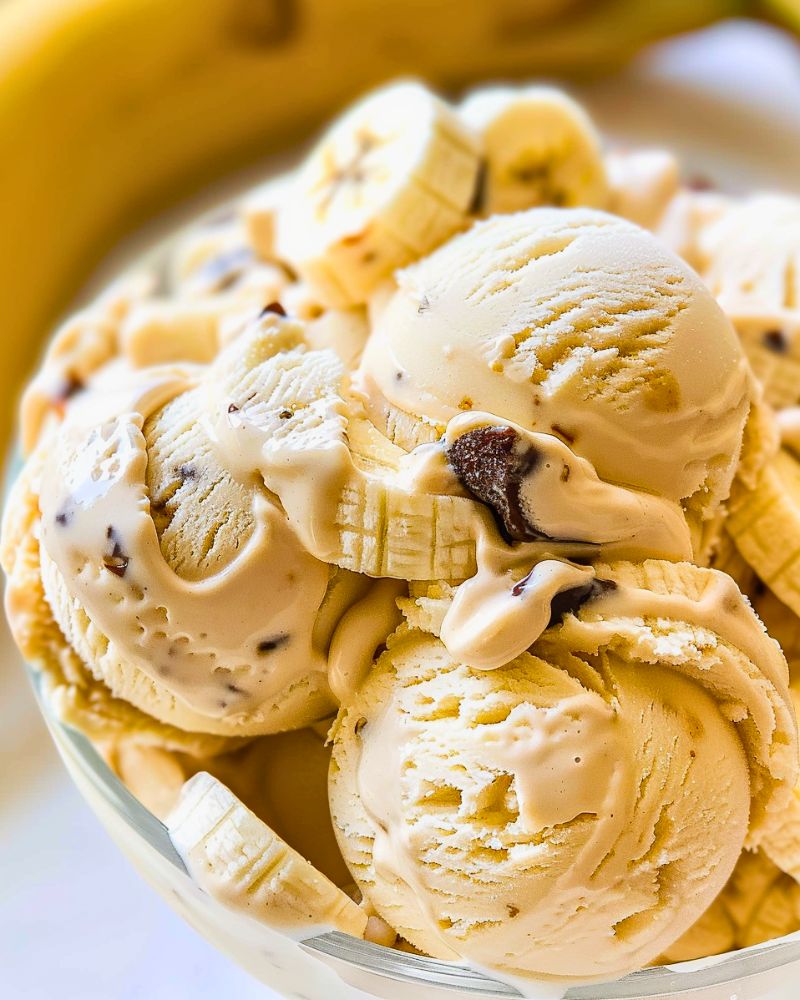
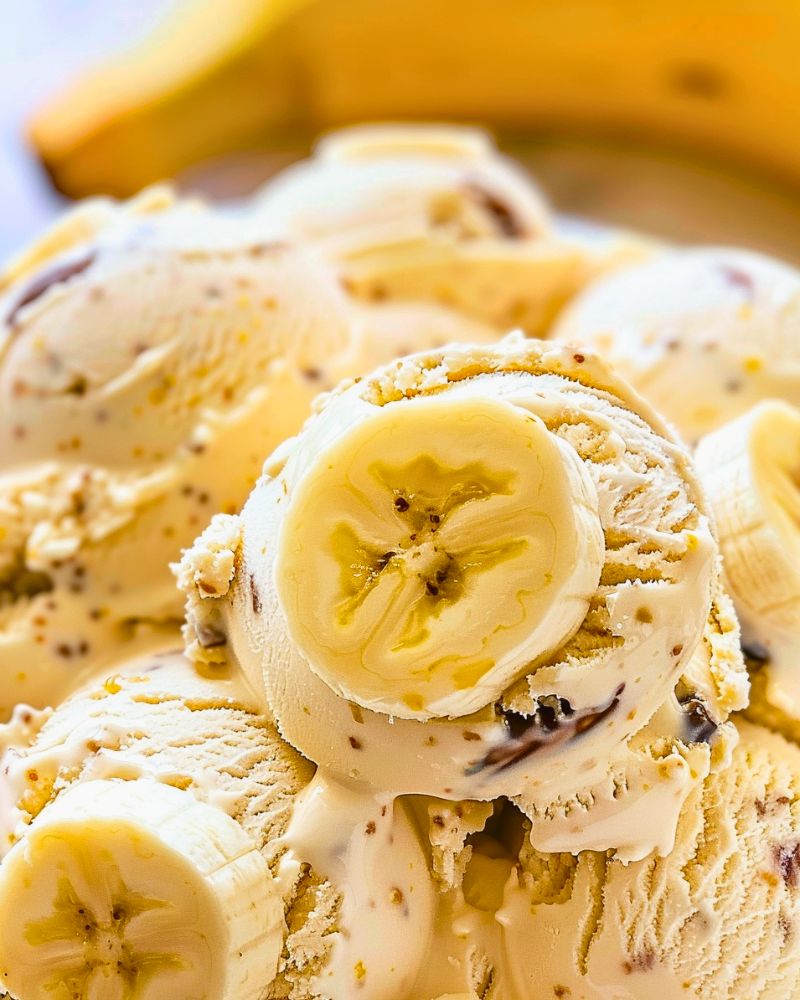
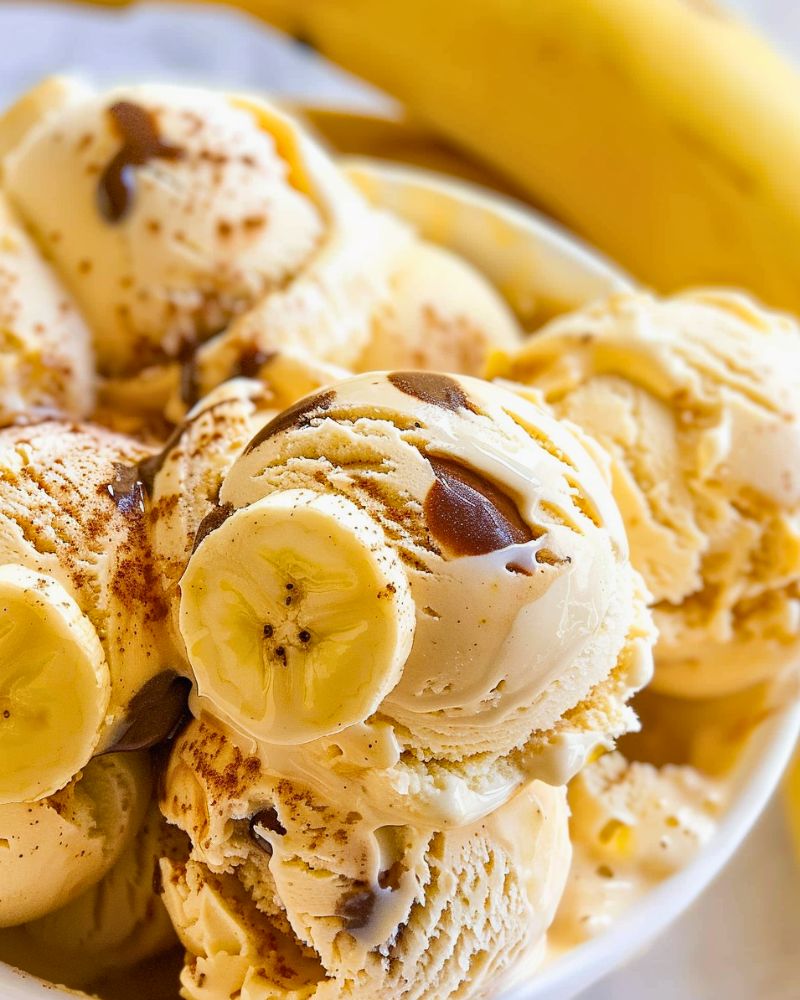
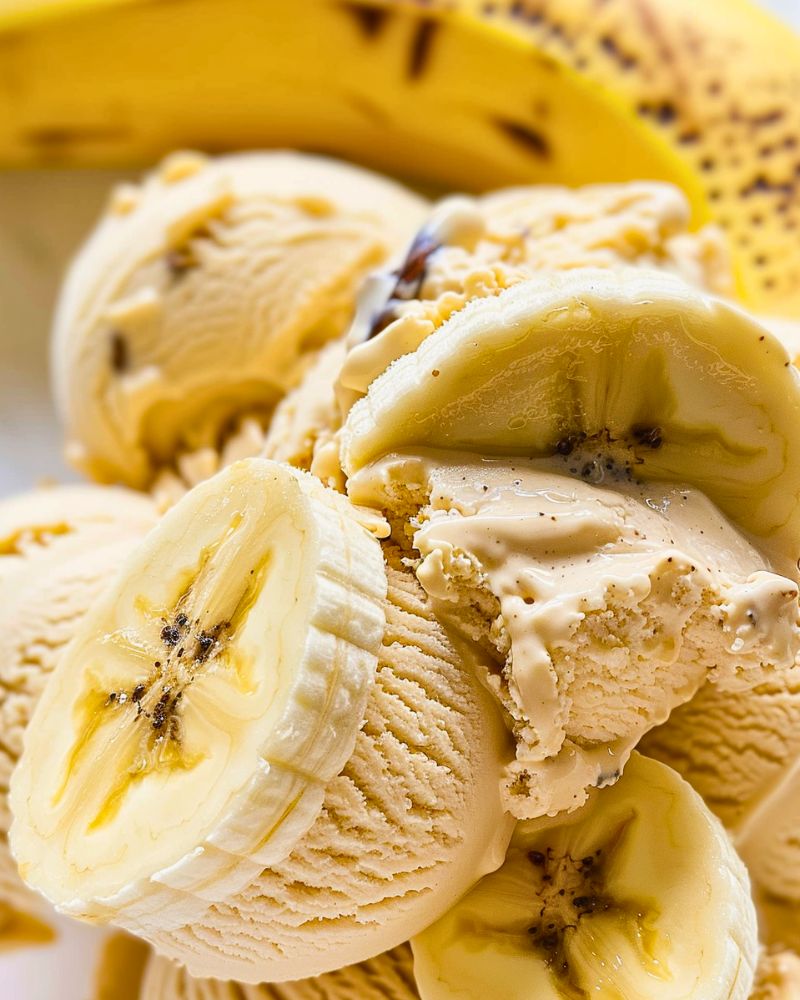
Craving ice cream but looking for a healthier alternative? This homemade banana maple ice cream is the perfect solution. Made with just four simple ingredients, it delivers a creamy texture and natural sweetness without any artificial additives. Whether you’re trying to cut back on processed sugars or simply want a refreshing treat, this recipe is an easy and delicious way to satisfy your sweet tooth.
The best part? You don’t need an ice cream maker or complicated techniques—just a simple blending process and some patience while it freezes. The result is a smooth, luscious ice cream that rivals store-bought versions but with better ingredients.
The Key Ingredients & Their Role
Each ingredient in this recipe serves a purpose, contributing to the flavor and texture of the final product.
- Ripe Bananas: These act as the natural sweetener, eliminating the need for refined sugar. They also create a creamy base when blended, giving the ice cream its rich consistency.
- Milk: A splash of 2% milk keeps the texture smooth and helps the blending process. You can easily swap it for almond, oat, or coconut milk for a dairy-free version.
- Vanilla Extract: Adds depth of flavor and enhances the natural sweetness of the bananas.
- Maple Syrup: Provides a subtle caramel-like sweetness that complements the bananas beautifully. If you prefer, you can substitute honey or agave syrup.
Step-by-Step Instructions for the Creamiest Ice Cream
1. Blend the Ingredients
Start by peeling and slicing two ripe bananas. Add them to a mixing container along with the milk, vanilla extract, and maple syrup. Using an immersion blender, blend everything until smooth and fully combined. If you don’t have an immersion blender, a regular blender will work just as well. Alternatively, mash the bananas thoroughly with a fork and whisk the mixture until well incorporated.
2. Freeze the Mixture
Transfer the blended mixture to a freezer-safe container with a lid. Place it in the freezer and allow it to freeze for at least 24 hours. This ensures the ice cream firms up properly before the final step.
3. Churn for the Perfect Texture
Once frozen, remove the container from the freezer and place it in your ice cream maker or high-powered blending machine (such as the Ninja Creami). Process using the “Lite Ice Cream” setting. If the texture appears too crumbly after the first run, press the “Re-spin” button to achieve that ultra-creamy consistency.
4. Serve and Enjoy!
Scoop the ice cream into bowls and enjoy it as is, or get creative with toppings. Try adding crushed nuts, dark chocolate shavings, or a drizzle of extra maple syrup for an indulgent touch.
Customization & Serving Ideas
This banana maple ice cream is a fantastic base for experimentation. Here are a few ways to mix it up:
- Chocolate Twist: Stir in a tablespoon of cocoa powder before freezing for a chocolate-banana flavor.
- Nutty Delight: Fold in chopped walnuts or pecans after blending for added crunch.
- Tropical Vibes: Add shredded coconut or a splash of coconut milk for a tropical twist.
- Spiced Comfort: A dash of cinnamon or nutmeg enhances the warmth of the maple flavor.
Storage Tips & Final Thoughts
Homemade ice cream is best enjoyed fresh, but if you have leftovers, store them in an airtight container in the freezer for up to a week. When ready to serve again, let the ice cream sit at room temperature for a few minutes to soften before scooping.
This banana maple ice cream is proof that a healthier treat can be just as satisfying as traditional ice cream. Give it a try and let us know your favorite way to enjoy it!
Ninja Creami Banana Ice Cream
Ingredients
Method
- Add all ingredients to the Ninja Creami pint container.
- Blend using an immersion blender. If you don’t have an immersion blender, you can also use a whisk or handheld masher to mash the banana as thoroughly as possible, and then mix.
- Put the lid on and freeze for 24 hours.
- Remove from the freezer and place the container in the Ninja Creami Machine. Press the Lite Ice Cream button.
- Press re-spin one time. At this point, the ice cream should be nice and creamy. If it looks too crumbly, press re-spin an additional time.
- Serve with your favorite toppings and enjoy!
Notes
- For a sweeter ice cream, add more maple syrup or use a sweeter variety of bananas.
- For added creaminess, you can substitute whole milk or a non-dairy milk alternative like coconut milk.
Leave a Reply